
Templates Management
Note: This section in the back office might take a while to load completely.
To update a template please follow these steps:
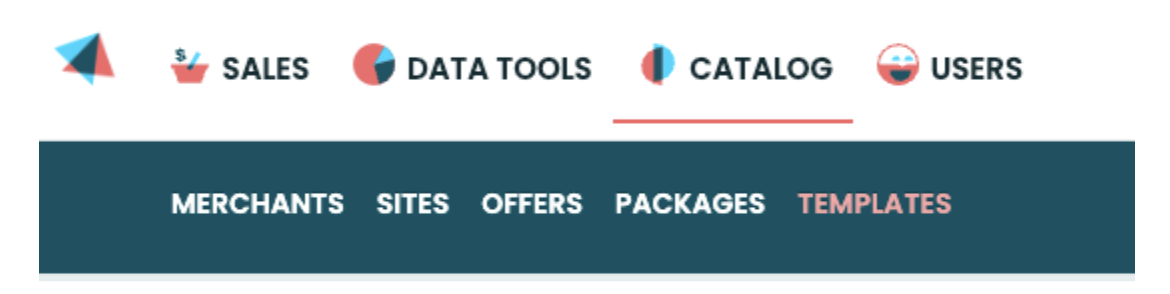
Navigate to Catalog → Templates.
In this section, you can manage the templates assigned to your site(s). All your sites will be listed under "My sites" on the left. If you have more than one site, select the one you wish to edit.
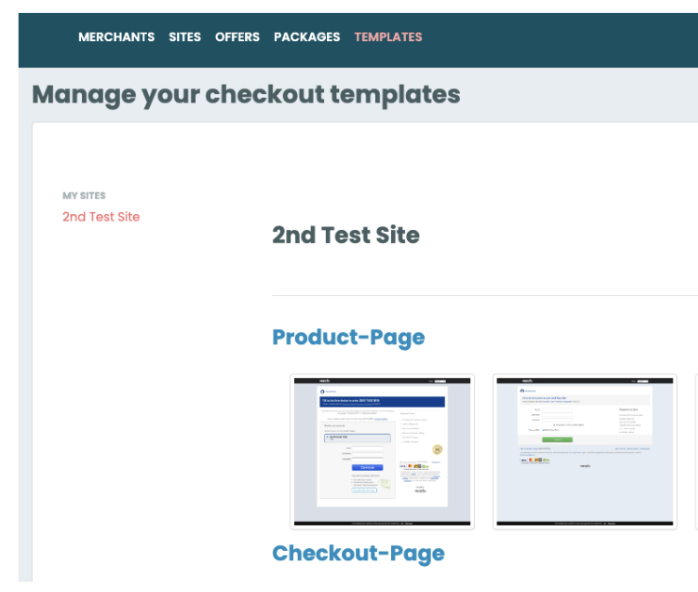
For this example, we are using the Vendo test site, which has one template assigned to the Product page (also known as the Pre-Join page) and one for the Checkout page (also known as the Join page). If multiple templates are assigned to the same page, click on each one to check if it's the active template.
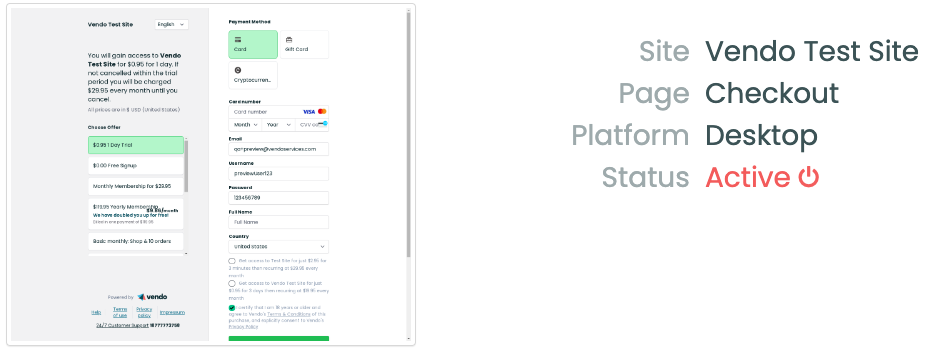
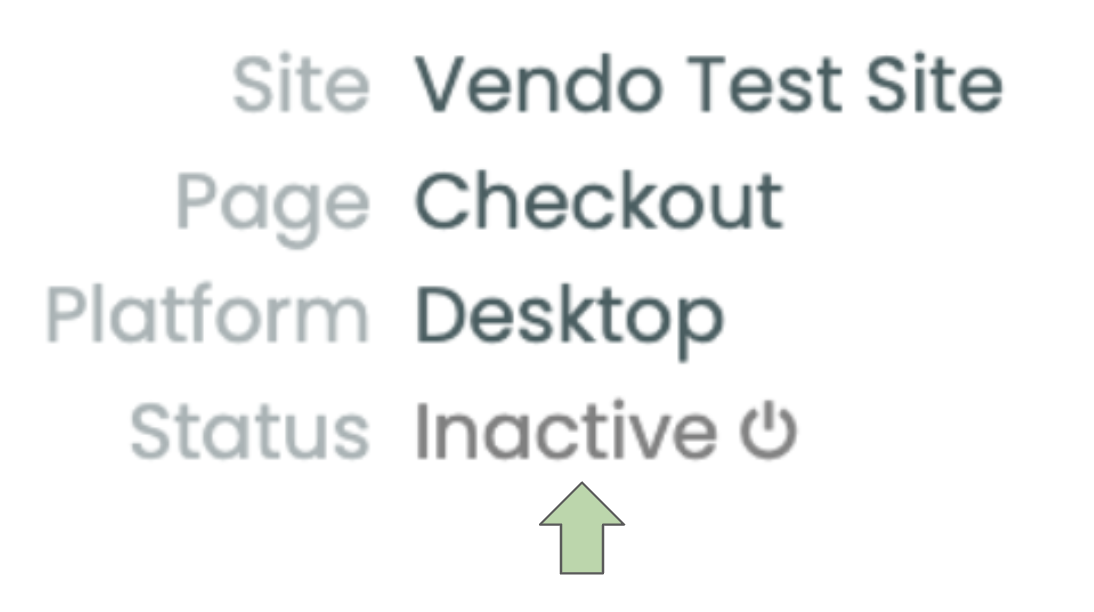
Once you click on a template, you can see if the "status=Active" is displayed.
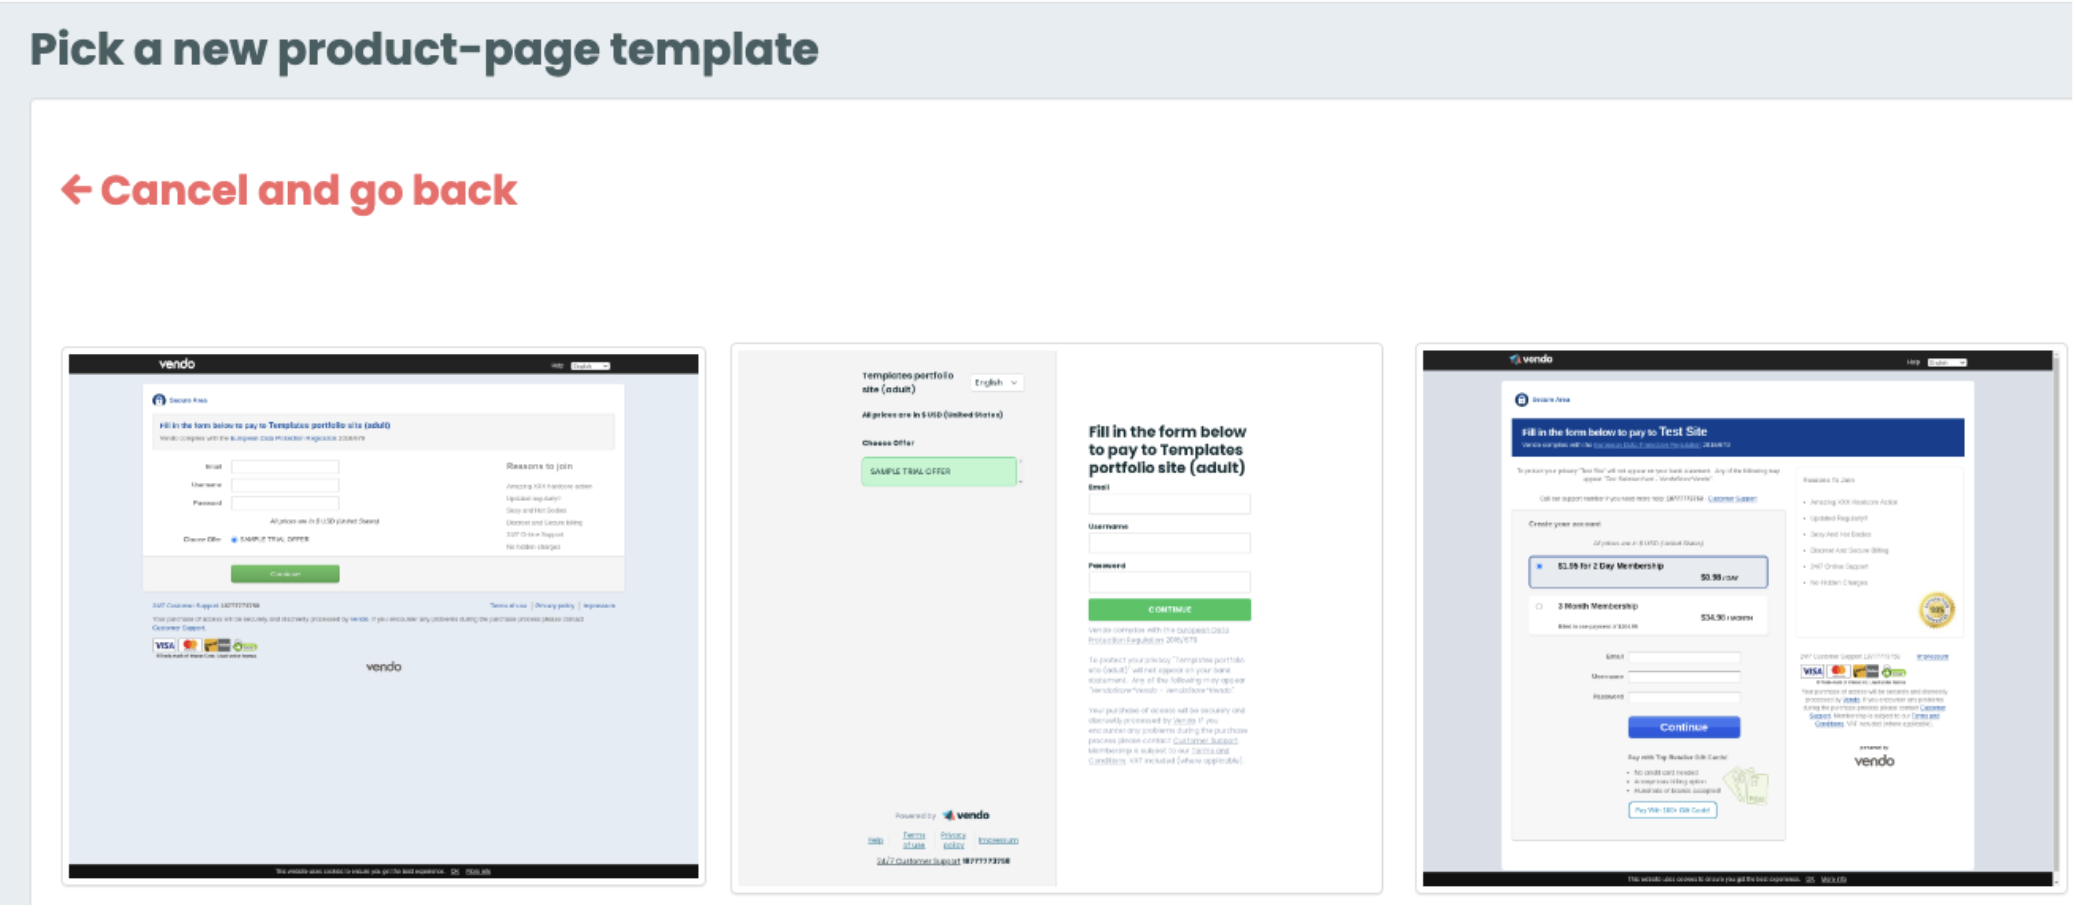
If you'd like to use a different template, click on the "+" button.
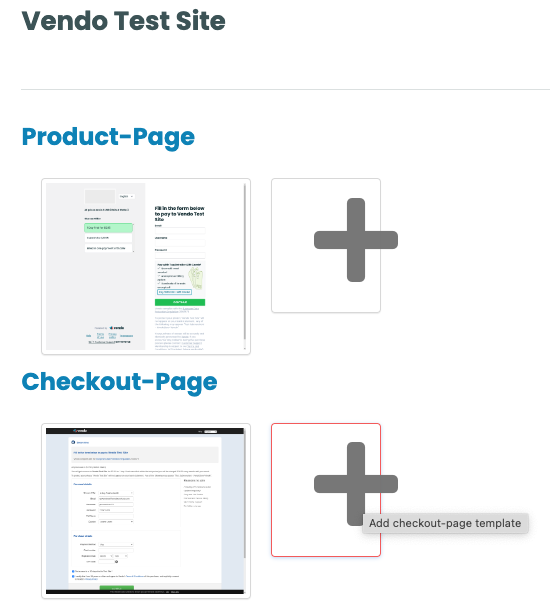
From the list, select the template you wish to use.
This will open a screen where you can customize the template and set it as active.
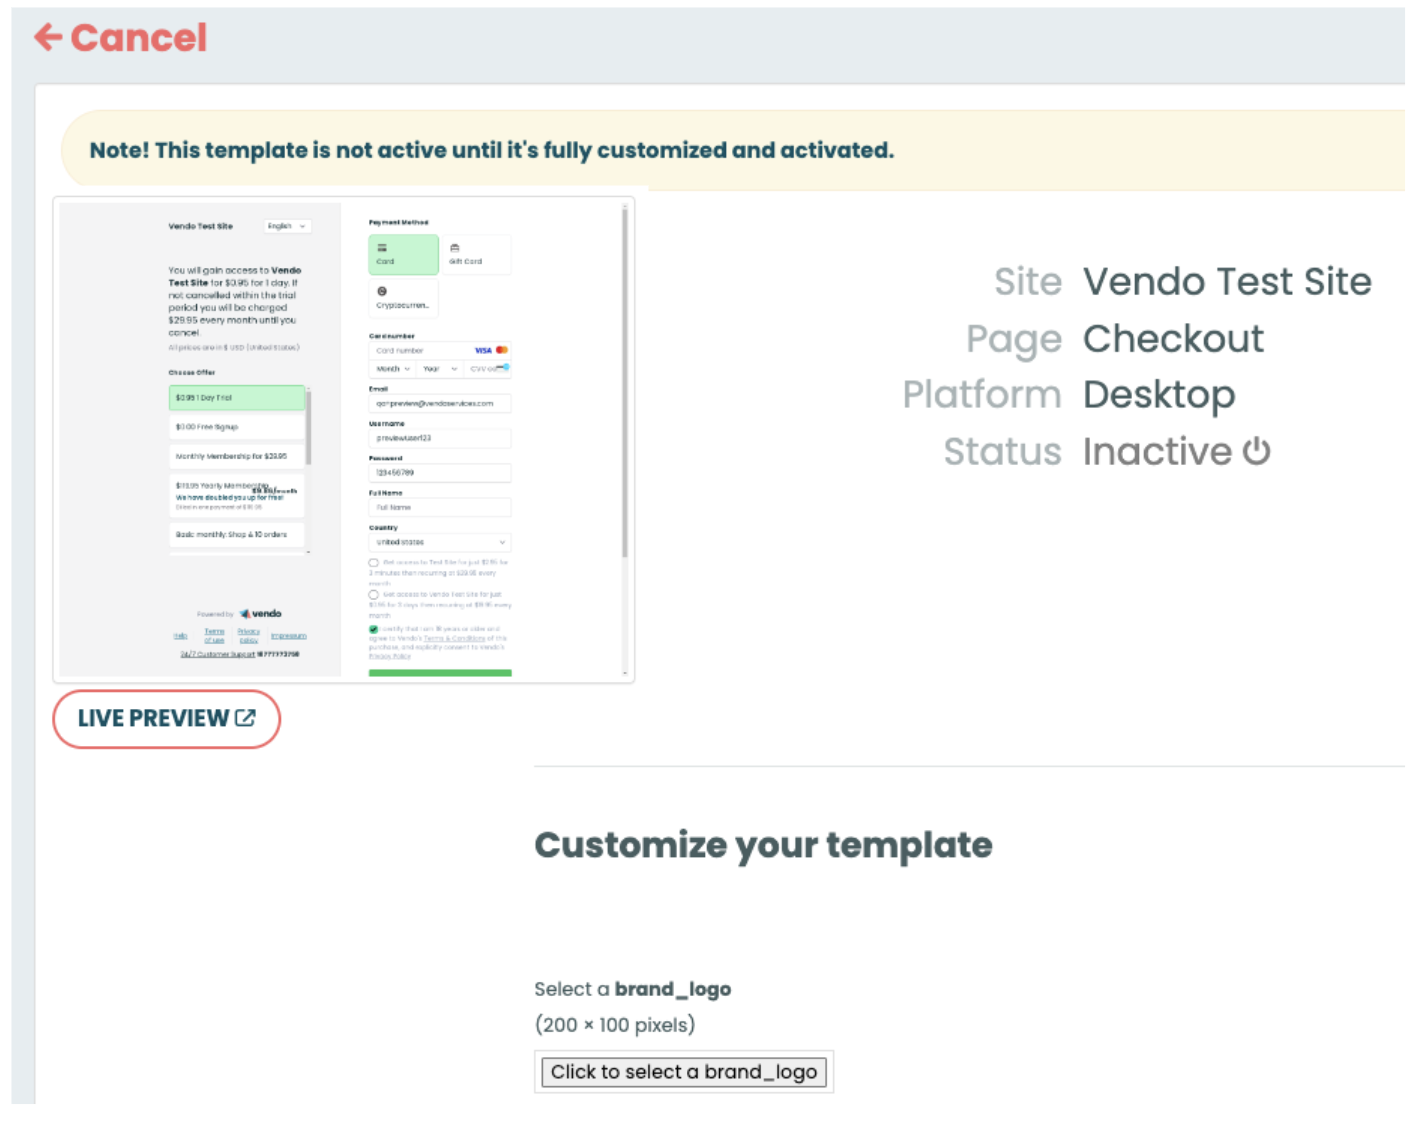
You can upload and assign a brand logo by selecting the file. Once uploaded, the logo will automatically be assigned to the template.
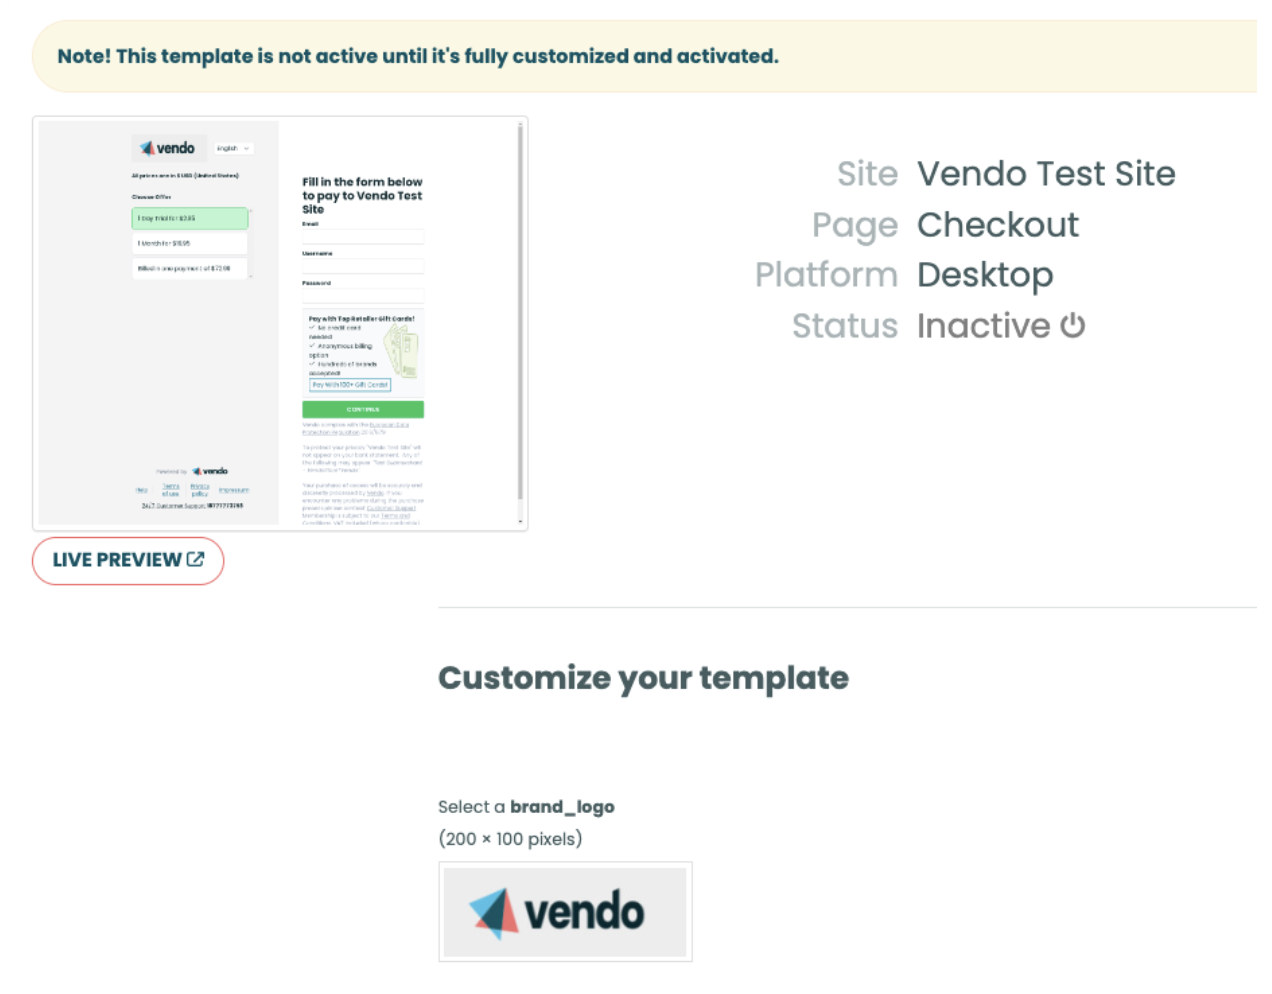
We strongly recommend clicking the "Live Preview" button before setting the new template to "Active" to ensure any desired changes are made before it becomes visible to all end users.
Set the template status to "Active" by clicking in "Status" and wait a few seconds for the changes to be saved.
Updated 9 months ago